Part 176: The Totem & The Totem 2
The Totem & The Totem 2Two more planets, focusing on Totems as you no doubt have brilliantly guessed from the names.

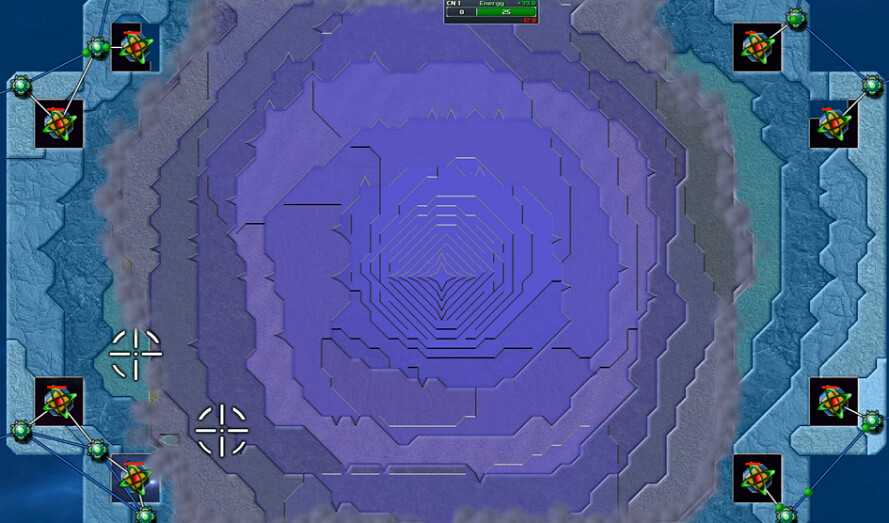
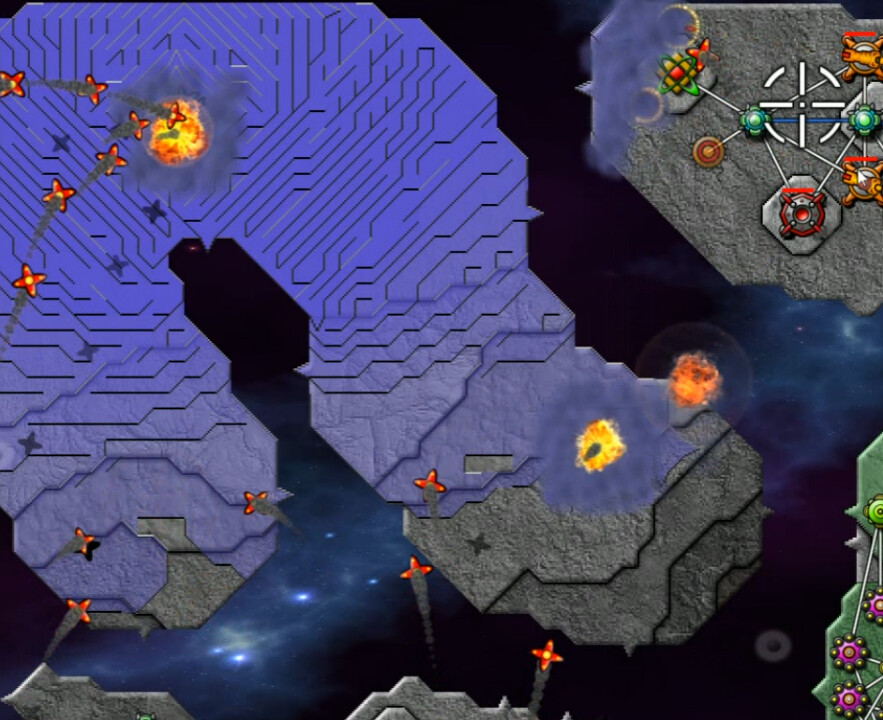
We see no totems yet, just a square of green, a bunch of void, a crater in the middle, and eight of those mysterious Pandora Devices around it.

There's nowhere to begin but the external corners. My first idea was to just connect to all the totems, which appeared on top of the devices once the timer started, with relays, to see if they did anything. Forges are not allowed here.
Ultimately this idea didn't go anywhere as I couldn't get them all connected before the creeper reached them. One of those lovely slip-emitters, and one of sizable strength, is in the center of the crater as the lone opposition.

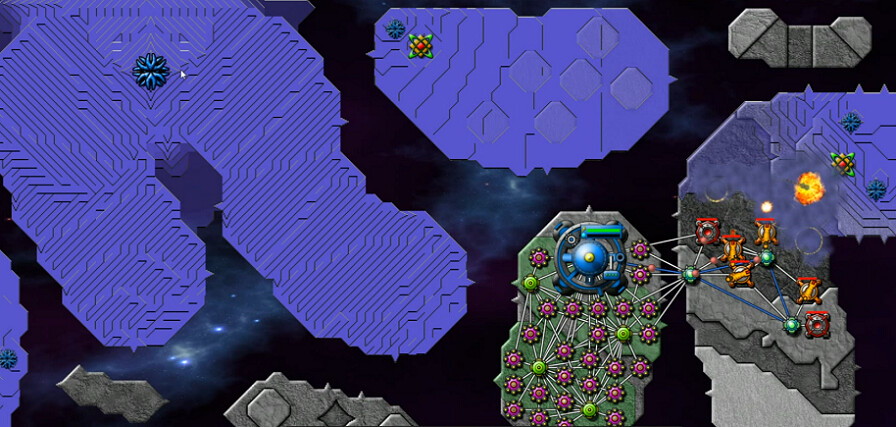
Restricted now to the perimeter, I began the long process of filling it with Reactors, and a trio of Berthas on the other corners not occupied by the Command Node. There really didn't appear to be another option.

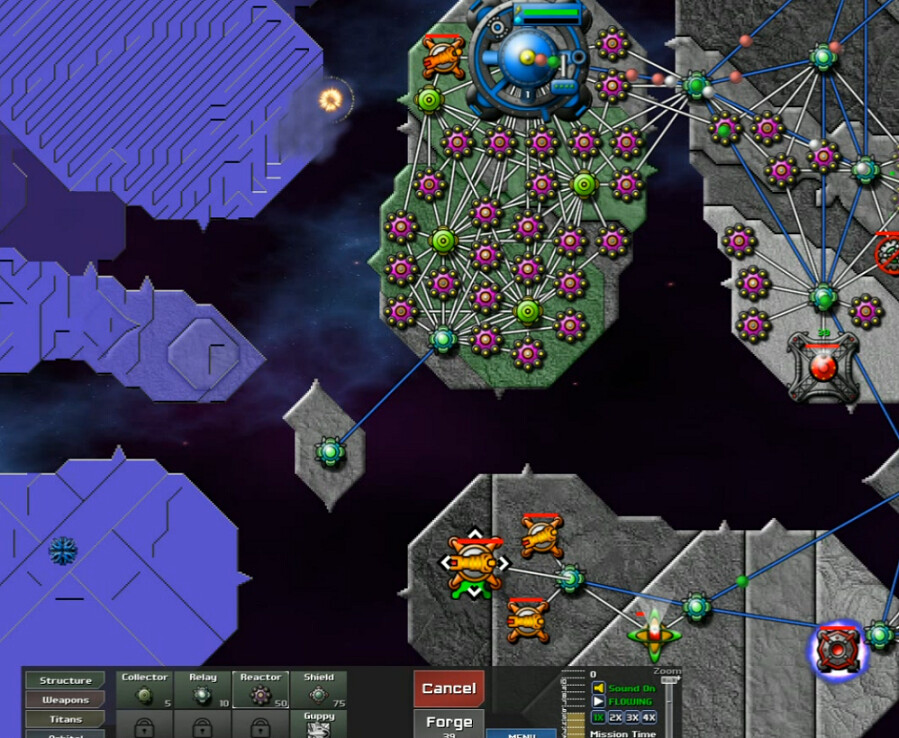
Took a bit of doing to figure out a useful way to get back into the center. It ended up seeming best to have one bertha hit the middle to keep creeper from building up too much, and two more near where I landed with the weapons. From here it was a simple matter of expanding the beachhead. Simple, but a bit time-consuming.

It took almost ten minutes to get into position to claim the victory. The main aspects were just gradually advancing and moving the secondary artillery targeting, along with Mortars. A lot of mortars.
It annoyed me upon getting the video edited that I hadn't tried the 'Charge Without Forge' option to see if the totems actually did anything. Wouldn't be much of a Totem level if they didn't. And here's what I found ...
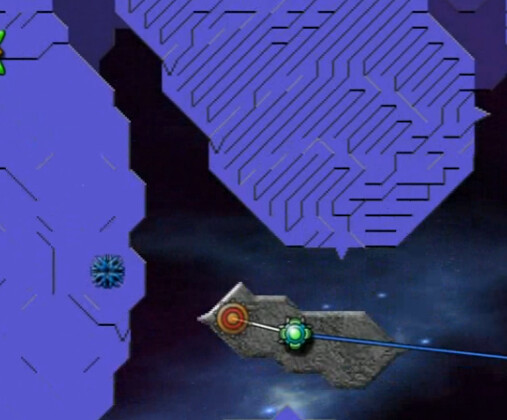
Turns out that they do the 'AC Rain' thing that a command node does if it has AC and gets sent back to orbit. I tried using that for a faster start, but I couldn't get enough energy to power them and weapons needed to protect them before getting overrun by creeper. Even here, where I've cleared room to activate the totems and then turned off/destroyed all my weapons, the AC isn't enough to hold it back by itself. It needs help. So it's a bit of an odd design thing in which it is useful, but only marginally so.

The Totem 2 also starts with no Totems. That'll change. But first there are words.


I rather like how this mechanic plays out. I can't tell you strong that first emitter is because I don't know - but unfettered by any active totems, it is pretty hefty.

Ten seconds in. The other emitters are standard ones, so this gives you an idea that the big guy isn't playing around. This oval center-right island is the only decent place to start.

An initial reactor farm is now up to power whatever we need to do. There are no Spores on this level. FishHook Island to the east is my first target, with high ground readily available close by.
As we moved in on the emitters here, which were eventually conquered using the shield method to push our way uphill, a thing started happening at the SuperEmitter. It's starting to overflow into void space. How joyful. Depth over there is well into the hundreds.
There are a couple of locations where this is possible, which I didn't realize right away - just nullifying emitters from a nearby island without actually making any sort of crossing or landing.

By the time I cleared Fishhook, I felt compelled to put this defensive Cannon up at our primary network in case the overflow got too close. Meanwhile the attack shifted further south, and at least I had one totem online to reduce the big cahuna's power somewhat.
Soon a new small island fell, giving us a second power-reducing totem, and meanwhile a pair of SuperBerthas back on Fishhook were coming online. What little threat there had been would now soon go away. A few things are forbidden to us, Terps included, which limits some options.

This undulating criss-cross pattern island creates a few annoyances, and then we shifted north along the western edge to the island out that way.
Here in the northwest was the final one, and we're about to claim the last totem while pounding the SuperEmitter's location with SuperBertha and, where they wouldn't fit, SuperMortar projectiles. Once the creeper was dead everywhere else, it was a fairly routine wrap-up.
I thought this was quite an excellent approach to using scripted totems and being required to weaken the enemy before going in for the kill. It's the kind of method you often see in a traditional RTS that gives you an impregnable turret-defended base, but you can cut the power to it and make things much easier. Pretty elegant translation to the CW engine IMO.